

Description
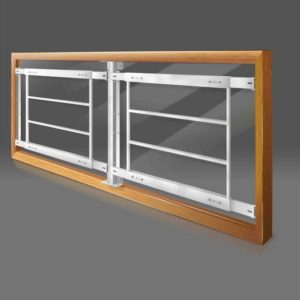
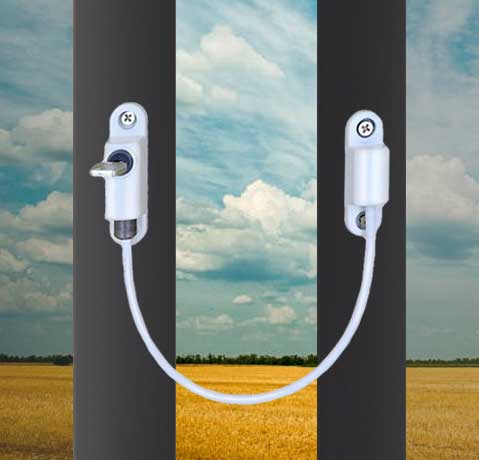
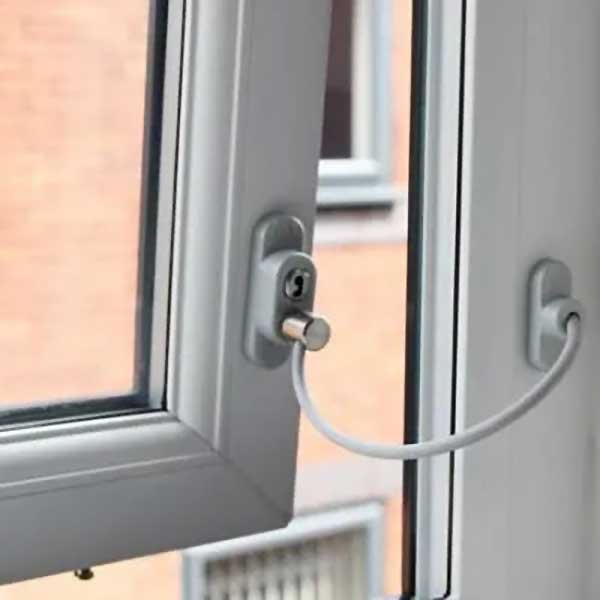
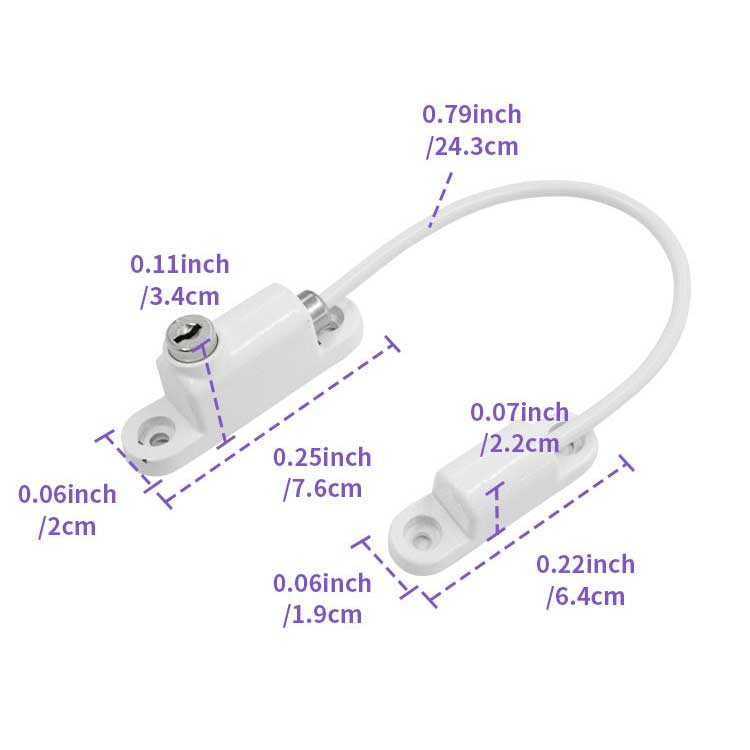
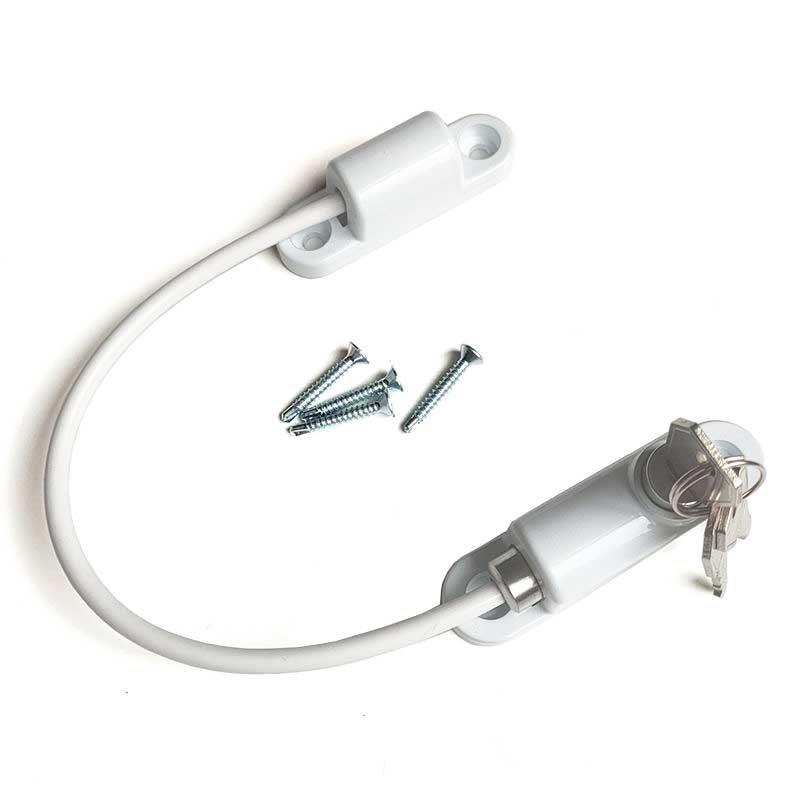
Mr.Goodbar Security – Keyed window restrictors are locking devices that limit how far a window can open to help prevent falls, improve security, and meet safety regulations. Unlike keyless models, they require a key to unlock and allow full opening, which adds a layer of security and prevents accidental or unauthorized release.
They’re commonly used for:
- Child safety (upper-floor windows)
- Security (preventing unauthorized access)
- Ventilation control
- Regulatory compliance (building safety standards)
 Key Specifications & Technical Details
 Key Specifications & Technical Details
When choosing a Mr.Goodbar keyed restrictor, consider the following technical specifications:
1. Opening Limit
 1. Opening Limit
- Most restrictors limit the sash opening to about 100 mm – 150 mm, enough for ventilation but too narrow for a child to fall through.
2. Load/Force Capacity
 2. Load/Force Capacity
- Models are tested to withstand several hundred to a few thousand Newtons (e.g., ~300 kg horizontal force).
- That load rating shows how much force the restrictor can resist before failure (important for security and safety).
3. Materials & Durability
 3. Materials & Durability
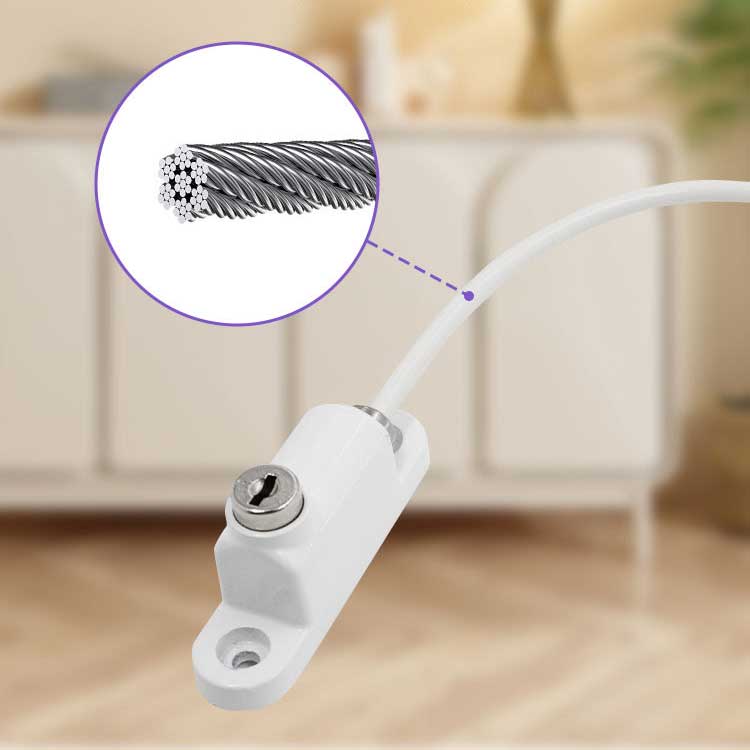
- Mr.Goodbar Window restrictors use stainless steel, high-tensile cables, and corrosion-resistant finishes for longevity.
- Environments with moisture (bathrooms, coastal areas) benefit from marine-grade materials.
4. Locking & Keying
 4. Locking & Keying
- Keyed alike vs. keyed different:
- Keyed alike: One key operates all units (more convenient).
- Keyed different: Each restrictor has its own unique key.
5. Compatibility
 5. Compatibility
- Ensure the restrictor fits the window frame material — uPVC, wood, aluminum, steel, etc. — and mount type (surface mount vs. euro groove).
- Measure sash and frame thickness before buying.
 These Mr.Goodbar window restrictors are typically surface-mounted restrictors intended for safety/childproofing, not high-security primary locks.
 General Installation Steps
Note: Always follow the specific product’s instructions if included. The following steps are a general guide.
1. Plan & Mark
- Decide the restricted opening distance (e.g., ~100 mm).
- Mark the window frame and sash where the restrictor will mount.
- Ensure the restrictor isn’t in the path of handles or other hardware.
2. Pre-Drill Mounting Holes
- Use a drill and appropriate bit for your frame material (wood, metal, PVC).
- Anchor points must be solid and stable.
3. Attach Mounting Plates
- Fix the restrictor body to the stationary trim or sash frame.
- Install the counterpart plate on the moving sash.
4. Install Hardware & Test
- Assemble the restrictor (cable, bar, or lock) per instructions.
- Test multiple cycles: open to limited position, lock, unlock with key, ensure smooth operation.
5. Secure Screws and Final Check
- Tighten all screws securely (don’t over-tighten to strip threads).
- Check that the window still closes and latches correctly.
Installation Tips & Safety Notes
 Height placement: Mount restrictors out of easy reach of small children but accessible to adults.
Test regularly: Inspect every 6–12 months for loosening or wear.
Do not impede escape: In bedrooms or fire escape scenarios, check local codes — keyed restrictors may not be allowed where the window is needed for emergency egress.
Use correct screws: Match screws to your frame material (metal vs wooden frames).
Avoid DIY “makeshift” restrictors: Zip ties, ropes, or blocks aren’t safety-rated and can fail unpredictably.
Summary
 Summary
| Feature | Keyed Restrictors |
|---|---|
| Security | Higher than keyless (requires key) |
| Child safety | Yes – strong physical limit |
| Egress | May impede escape — check codes |
| Ease of use | Key required to fully open |
| Installation | Surface mount with screws |
| Best for | Upper-floor windows, family homes |